


“in light wind conditions, setting the shutter speed as low as 1/6th of a second to use an ISO of 100 can result in a sharp motion-free image…”
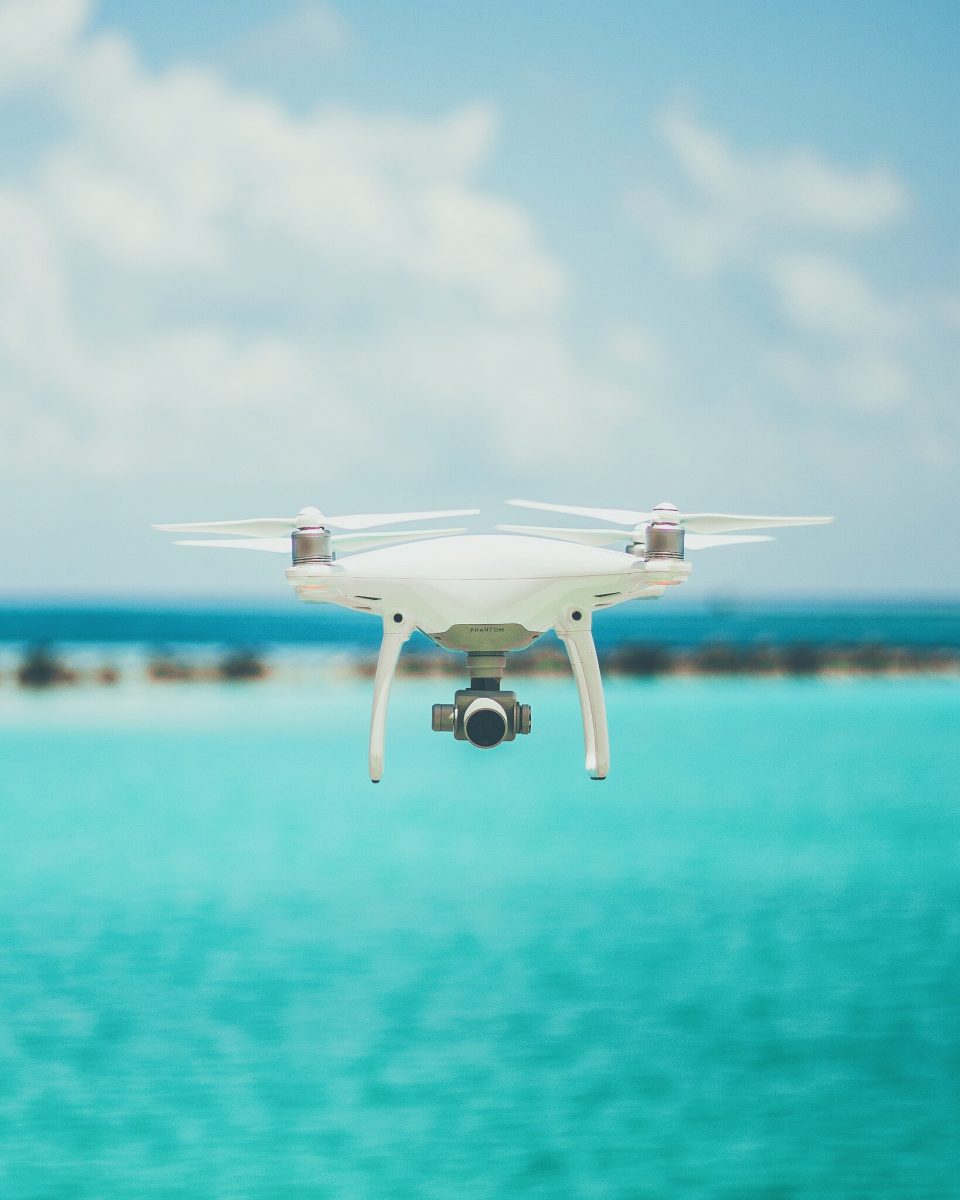
Over the past couple of years drones have dramatically altered the landscape of photography and videography, making it possible to capture travel memories like never before. Drones are more affordable than ever, though you can still expect to pay just under R20 000 for an entry-level drone like the DJI Mavic Pro. With this in mind Travelstart brings you 15 tips for drone photography enthusiasts (in no particular order) to help you get the most out of your new travel tool.
1. Size

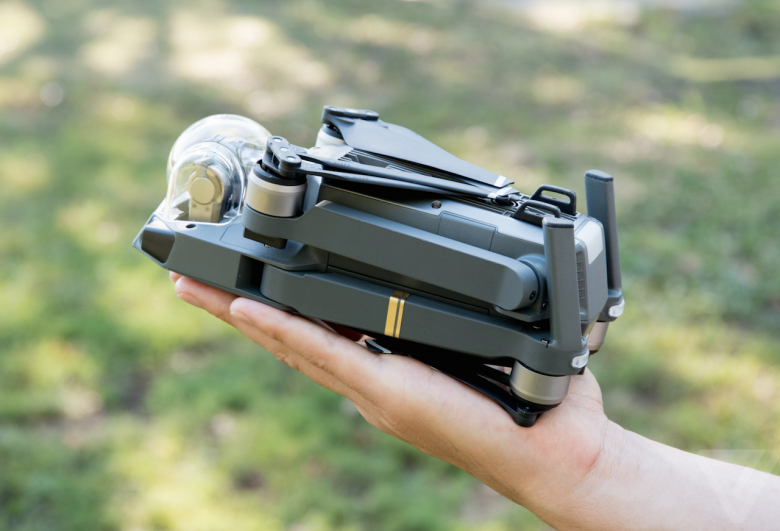
Courtesy of The Verge
2. Read the instructions

Before taking to the air, spend time understanding the camera options available to your drone. This will drastically improve your initial shots and a thorough understanding of the controls will prevent maiden-flight crashes.
3. Pay attention to the weather

4. Learn to fly your drone in an open area (on private land) without woods, away from buildings, roads and people.
5. Avoid midday glare
If you are using a tablet or a phone to steer your drone bear in mind that glare from harsh midday sun may affect your ability to see the screen clearly.
6. Fly your drone in GPS mode
When GPS mode is on, your drone is able to stabilise and hover by itself. This will enable you to take a photograph or video that is unblurry and without any vibration.
7. Get licenced
Find out more about licensing here, and register your drone here.
8. Know the law
Drone law is still in its infancy however SA’s laws are fairly developed.
Hobby laws/private use flight rules are as follows:
You may only fly your drone on private land.
You’re not permitted to fly 10km within airport, helipad or airstrip.
You may only operate your drone in daylight and clear weather conditions.
You may not operate your drone within 50m or closer to any person, property or public road.
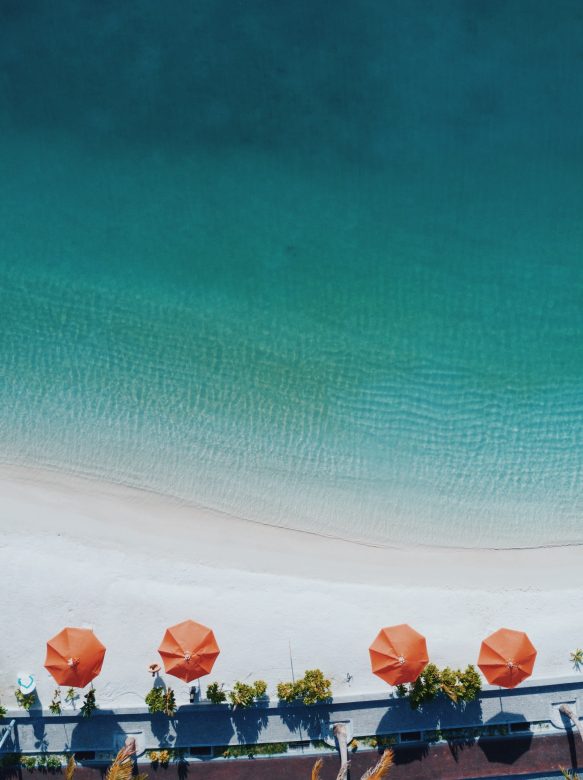
9. Fly high
A pro photographer suggests taking raised shots over close ups. By flying to the highest legal altitude, you will get a better perspective and a more successful shot.
10. Keep the ISO below 100
Award winning photographer David Hopley explains that small sensors don’t perform well at high ISO speeds. He keeps the camera on auto-mode until the camera starts to increase the ISO, then he sets it to manual. He also advises “in light wind conditions, setting the shutter speed as low as 1/6th of a second to use an ISO of 100 can result in a sharp motion-free image. But make sure to take multiple frames to increase your chances of a sharp shot.”
11. Make sure your drone has a gimbal
A gimbal allows you to point the camera in a specific direction and keeps the camera in focus while compensating for the flight. Drones like the DJI Mavic Pro have a gimbal included.
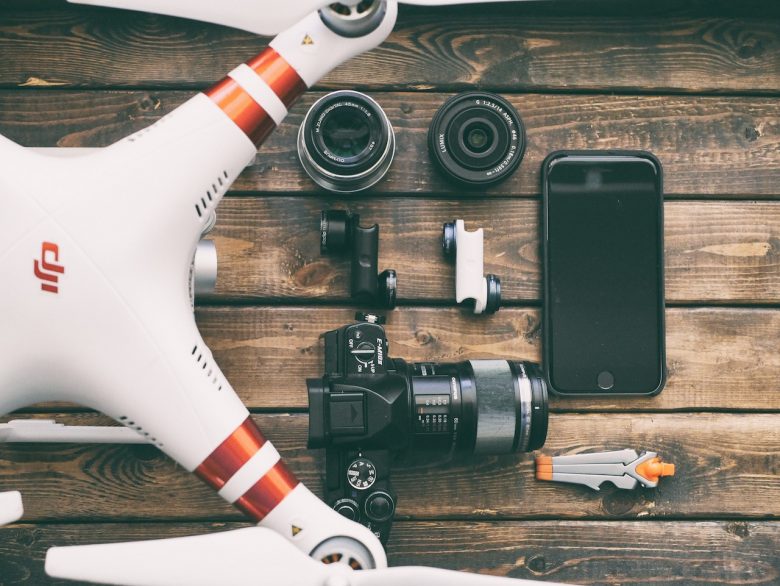
12. Resolution and Zoom
If you have a gimbal installed a lower resolution (720p) and medium zoom will work fine.
If you don’t have a gimbal use the highest possible resolution and a wide zoom.
13. Buy a drone with cool extras like gesture control
The DJO Mavic Pro allows you to wave to get your drone’s attention. Put your arms up in a big Y and your drone will focus on you. Then if you use your hands to make a frame in front of your face your drone will start the timer for an aerial selfie.

14. Choose landing gear that doesn’t get in the way of your shot

15. Invest in an extra battery or two
Most drones don’t operate for longer than 20 to 25 minutes while filming.